In just a few steps you can setup a 'testimonials' section on your Joomla website.
Step 1 Create a new contact category 'Testimonials' in the standard Joomla 'Contacts' component.
Step 2 Create a new contact in the 'Testimonials' category. This will be the profile of a person who left a testimonial or review for a product, services...
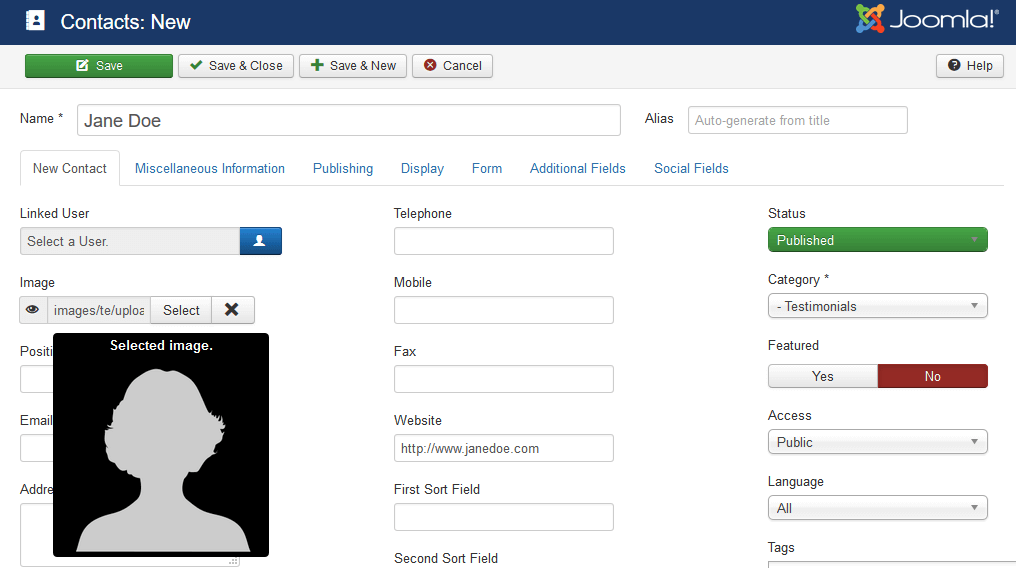
Set the name field and add a picture (if possible - this has a better impact on visitors of your site). Set anything else you see fit.
Step 3 In the 'miscellaneous information' tab, enter the actual testimonial. Use html tags that your template will likely interpret. For instance, enter:
<blockquote><p>I am really satisfied with my software. It really saves me time and effort. This extension is exactly what our business has been lacking.<br />Absolutely wonderful!</p></blockquote>The 'blockquote' tag should be rendered by your template.
Step 4 Pro Go to the 'additional fields' tab and add a company name (additional fields must be enabled in the Trombinoscope Contacts Pro component).
Step 4 Free Use the 'position' field to enter company information.
Step 5 Save the contact.
Step 6 Go to Extensions -> Modules and create a new module of type 'Trombinoscope Contacts'. Set module name (for instance 'Testimonials'), template position and menu assignments as you would any other module.
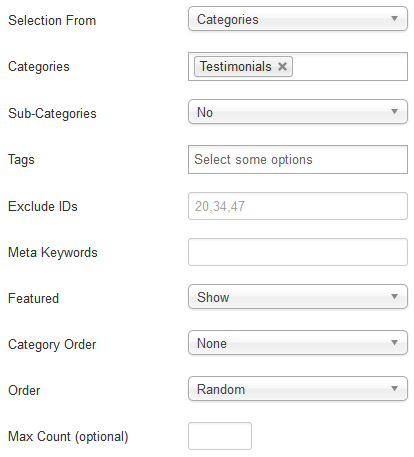
Step 7 Go to the 'Selection' tab. Select the contacts that will show in the module instance.
Step 8 Go to the 'Layout' tab. Hide the category.
Step 9 Go to the 'Contact Picture' tab. Set the alignment to 'top' and 'process picture' to 'yes'.
Step 10 Go to the 'Contact Information' tab. Select the information to show.

Note In the free version, you will need to select 'position', not 'company' and choose the desired icon.
Step 11 Set 'Strip Tags' to 'No'. This is mandatory so that the contact information retains the html formatting.
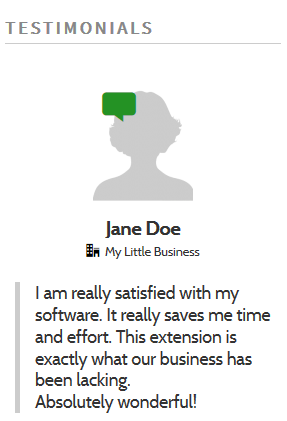
Step 12 Go to the front end of your site and check the module. You should see something like this:
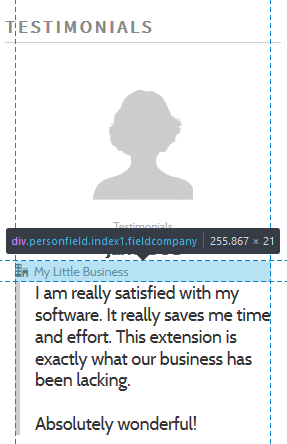
The company name needs additional CSS in order to show correctly.
Step 13 Go back to the module instance, 'Theming' tab and add the following CSS:
Pro
.te_<your_module_id> .fieldcompany { text-align: center; margin-bottom: 20px; }Free
.te_<your_module_id> .fieldposition { margin-bottom: 20px; }That's it! That is all you need to do to have a fully functional 'testimonials' section on your site. Add more contact information, setup a carousel and make your testimonials pop even more!
Extra steps for a 'cool' visual
Step 1 Go to the Joomla 'Contacts' component and set testimonial contacts as 'featured'.
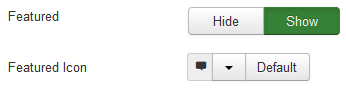
Step 2 Go to the testimonials module instance, 'Layout' tab and set the featured options like the following:
Step 3 Go to the 'Theming' tab and add the following CSS:
.te_<your_module_id> .featured .feature .icon {
    font-size: 3em;
    color: #249224;
    padding: 0;
}
Step 4 Go to the front end of your site and check the final result!